Modes detailed
Real-Time
- Number of channels : How many channels are we expecting data for (default: 4).
- Frequency : This is the sampling frequency of the card (default: 100Mhz).
- Samples per frame : How many samples are being sent each time (default: 1024).
- Voltage : This is the voltage range of the cards (default: 2.2v, from -1.1v to +1.1v).
- Bit Depth : Number of bits needed for a single sample (default: 16bits or 2bytes).
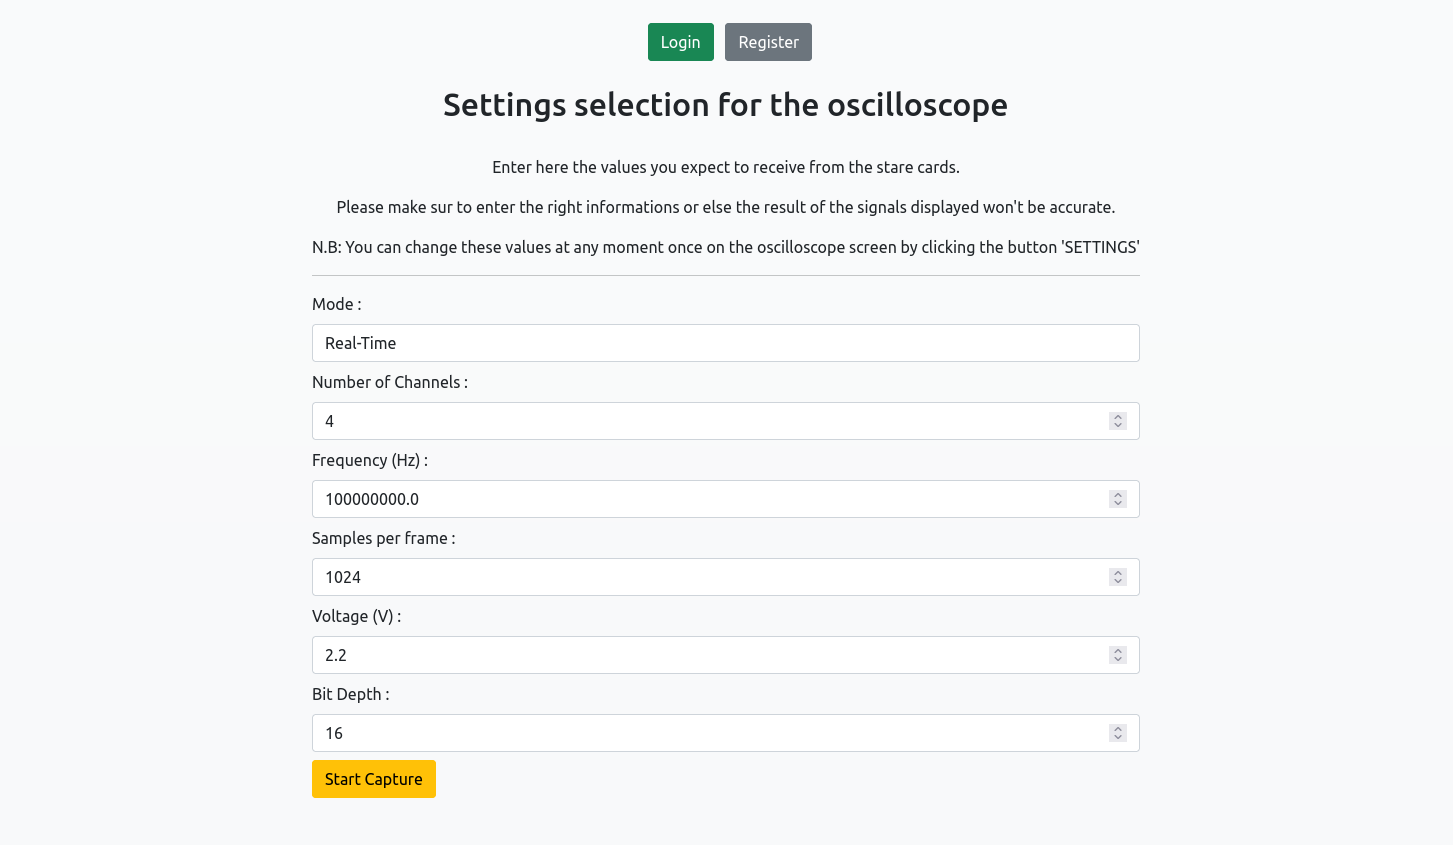
When you are in front of this screen, the procedure is quite simple.
Simply fill out every input depending on what the cards will be sending you. You need to be careful as to what you enter because while some values won't stop the application from working (voltage, frequency), others will render an end result not at all representative of what the cards are actually sending (Channel, samples per frame, bit depth). It is important however to note that if the voltage or frequency specified are not right then all calculations displayed on screen will not be accurate !
Detail of each input :
Once the settings are entered, simply click on the 'start capture' button to get redirected to the oscilloscope's main screen.
Simulated Real-Time
- startFakeStare.sh - This will start sending data gathered from a large file continuously to the app.
- FakeStareSin.sh - This will start sending 4 perfect sinusoidals on 4 different channels with the dafault settings of the app.
- -s | Specifies the size of each packet being sent.
- -n | Number of samples per frame.
- -c | Number of channels.
- -d | Delay between two sendings.
- -f | Specifies a file path to read data from (has to be a .dat file).
- -i | Ip adress to send the data to.
- -p | Port to use.
- -r | How many packets to send.
- -g | How many packets to include in a single send.
Let's start by saying that this mode, in its essence, is the exact same as the Real-time.
On the app's side nothing changes between the two of them. The difference lies in the fact that instead of receiving data from STARE cards we have the ability to simulate one.
This is useful if you want to get more familiar with the app and how it works or simply to test the settings you've entered and make sure you'll get coherent results with the real thing.
Two bash files are available to start a small server sending data just like a card would :
If you want to test out specific settings or file, you can also directly use the python script 'fakeStareData.py'.
The file 'fakeStareData.py' can take multiple parameters to adapt to the settings chosen on the app :
A few examples to make this clear :
python3 fakeStareData.py -c 3 -d 100
Since we don't specify any file, this will send 3 perfect sinusoidals every 100 ms.
python3 fakeStareData.py -f ./data/Event_2_0008.dat -i "192.168.15.65"
In this example, the server will send data from the file 'Event_2_0008.dat' to the address '192.168.15.65'.
Files
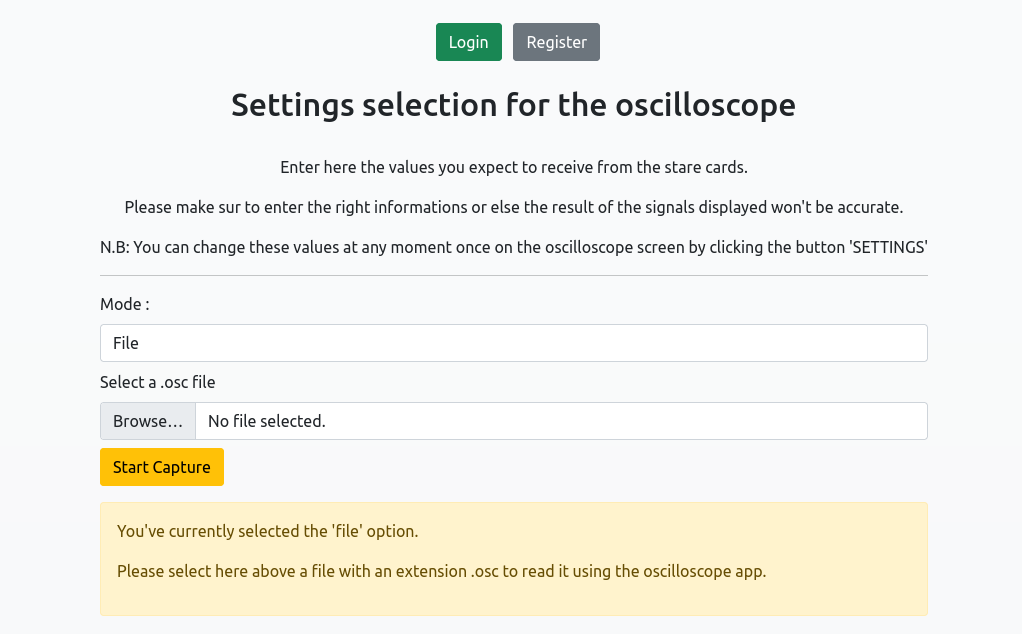
Using the file mode does not require as much settings to enter compared to the real-time mode. This is because .osc file have headers and metadata that allows us to determine the settings as we receive the data.
To start reading a file the procedure is really simple, simply select a .osc file from your computer, press the 'Start Capture' button and you will be taken to the main screen as soon as the file is temporarly saved on the server.
Once on the main screen, you can start the oscciloscope which will read the file given from start to finish.
N.B: If the end of a file is reached, we will simply loop back to the beginning.