AUTOSET

The autoset function is here to make sure all signals are within bounds of the oscilloscope's screen.

We'll see in this section how to enable/activate the autoset function, followed by a few examples.

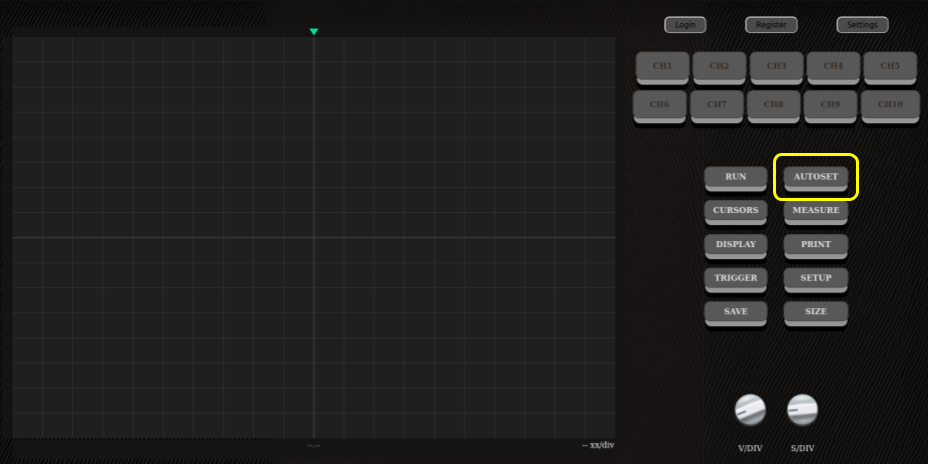
Activate the autoset function

To activate the autoset, simply click on the 'AUTOSET' button at any time (cf image below).

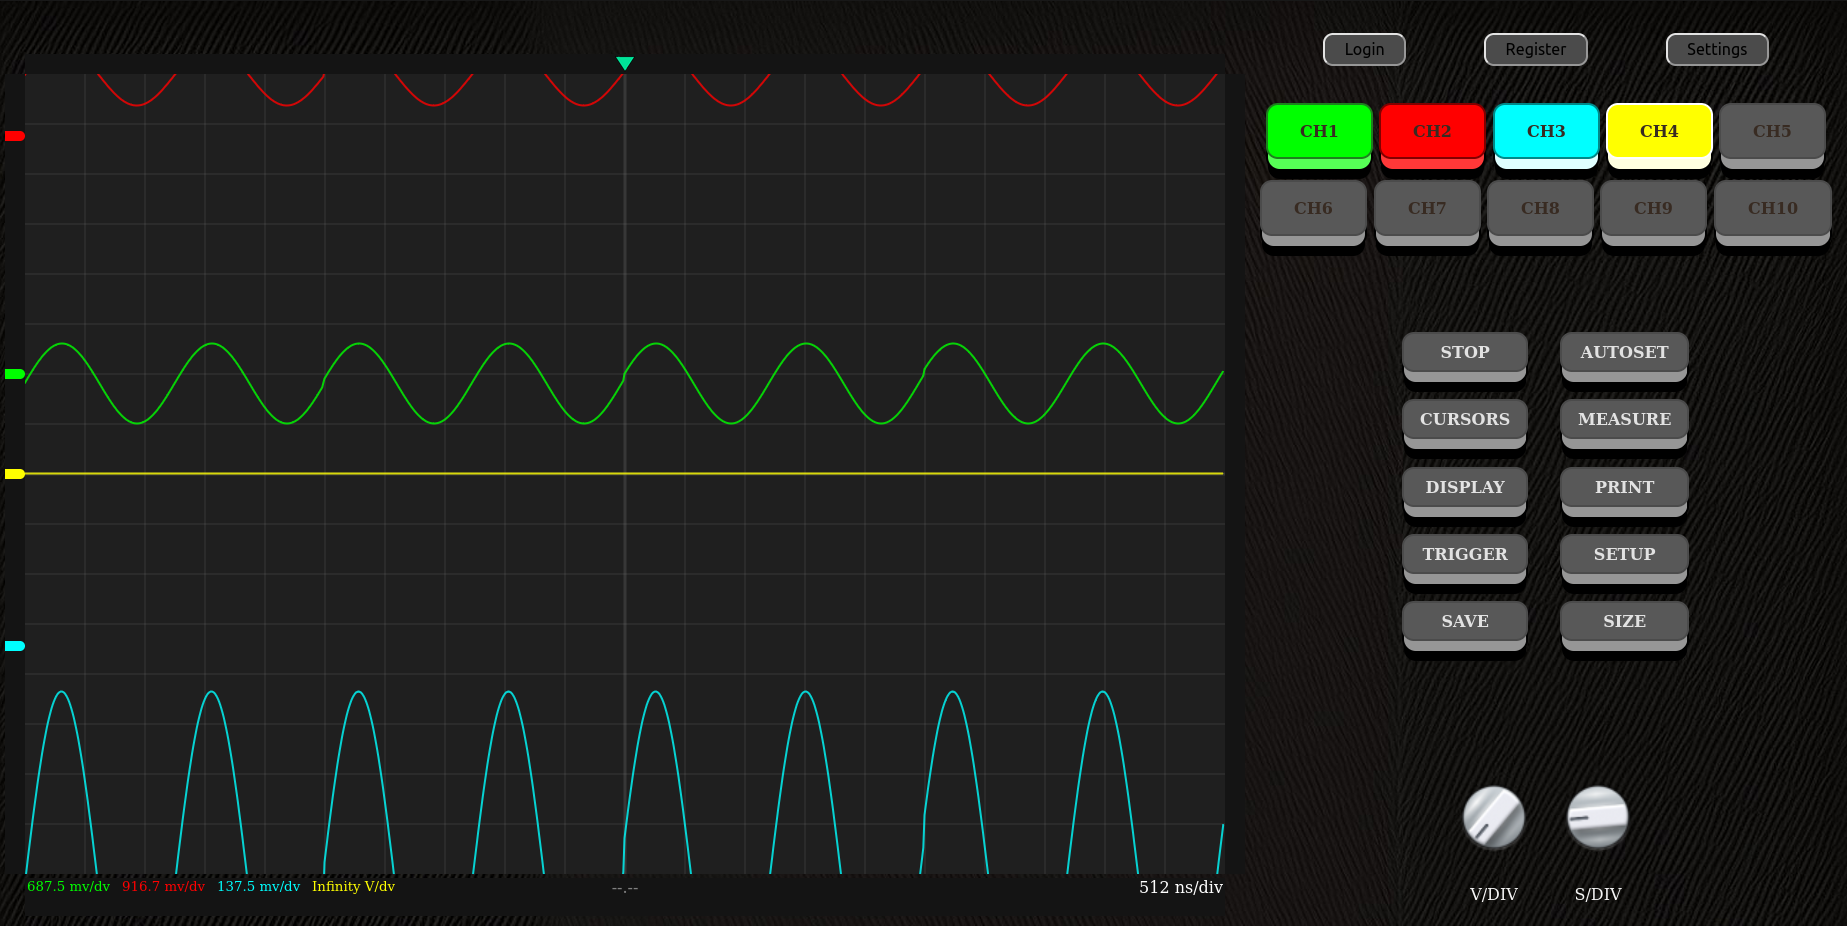
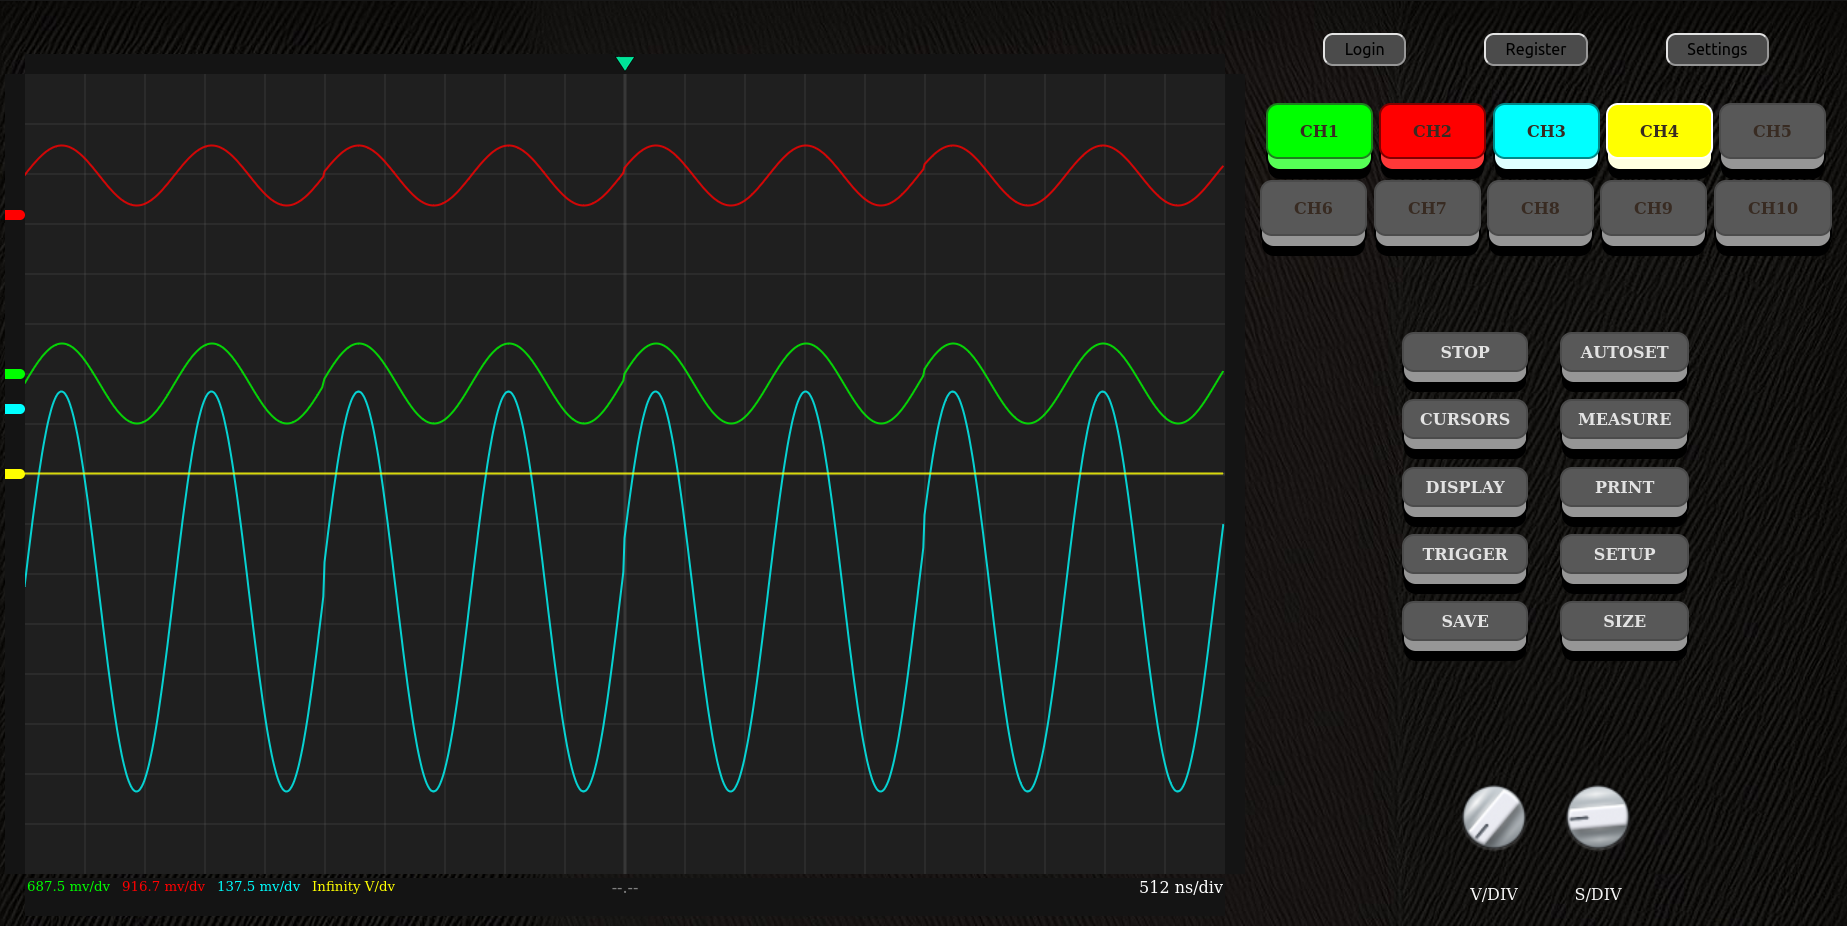
All signals displayed outside of the screen's bounds or clipped out of the screen will be brought back within the screen.

N.B: The autoset will change the offset and scaling of the clipped signals in order to bring them back into the screen.

Position of the autoset button on the oscilloscope's main screen.

Autoset usage example

In this example you can see the effect of the autoset on the signals displayed on screen between the first and second image.

Position of the autoset button on the oscilloscope's main screen.
Oscilloscope screen with clipped signals.
Position of the autoset button on the oscilloscope's main screen.
Oscilloscope screen after the autoset use.