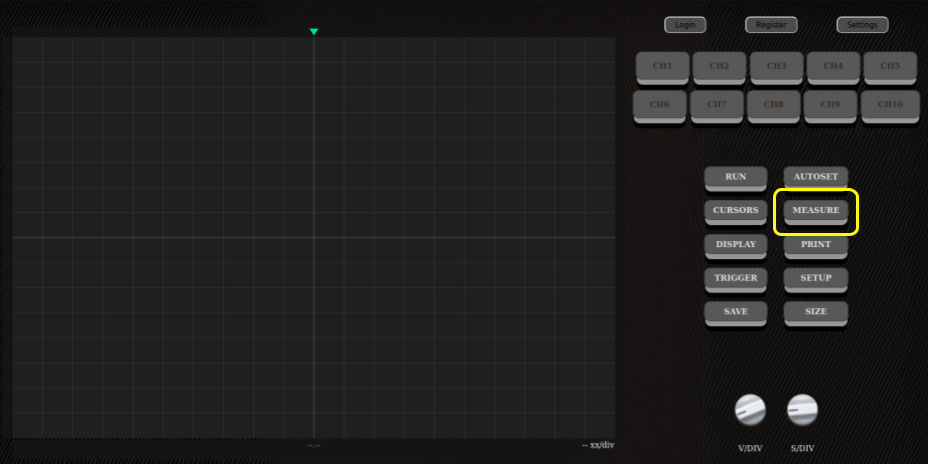
Sub-menus overview

You can switch between one of these two sections using the blue button at the bottom of the sub-menu.
Math functions
- Channel slot : Which unoccupied channel slot should the new signal use ?
- Channel : What channel are we using as a base for the operation ?
- Operation : What type of operation are we using on the signal ?
- Channel 2 (If operation selected needs two operands) : What is the 2nd base channel ?
- Addition (Needs a 2nd signal)
- Substraction (Needs a 2nd signal)
- Multiplication (Needs a 2nd signal)
- Division (Needs a 2nd signal)
- Squared
- Derivative
- Integral
- Fast Fourrier Transform
The math-functions sub-menu will allow you to generate signals from pre-existing ones.
Here is the description of each input within this sub-menu and what they'll do :
There are a total of 8 operation types, some of them require a second base channel to create the new signal :
Once you've selected the parameters, simply hit 'SAVE' to generate the new signal as you specified.
As you can see in the figure above on the left, once a signal is created, it will be displayed within this sub-menu with an icon to delete it if needed.
In the example above, since we've specified CH6 as slot for the newly generated signal, this spot will no longer be available to generate new signals on.
It is however possible to use the CH6 signal as a base to generate another one since it will be now considered the same as any other base signal.
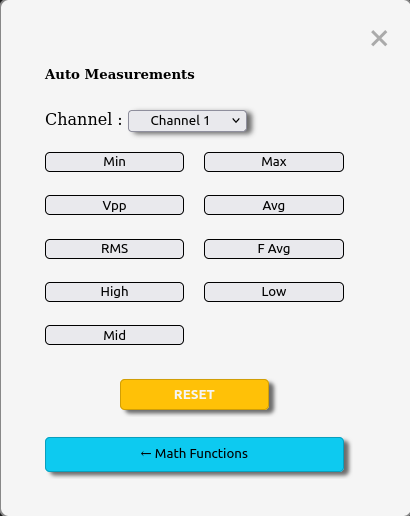
Auto-measures
- Channel : On top of the menu is where you select what channel these measurements should be based on.
- Below this are each auto-measurements available, simply click on one and the corresponding measure will now be displayed below the screen.
To get rid of a set measurement, simply click on it again (gray options aren't displayed and green ones are). - The reset button will remove all auto-measures.
The auto-measures sub-menu will allow a user to select from a multitude of values which ones to display below the oscilloscope's screen.
The sub-menu for auto-measures works like so :
The measurements appearing below the screen will be the color of the selected channel in the auto-measures sub-menu.